
| Key Points | Details to Remember |
|---|---|
| 🐶 Course Definition | Understand the principles of canine agility |
| ⚙️ Necessary Materials | Select safe and sturdy elements |
| 📐 Adapted Design | Plan the space and obstacle progression |
| 🔨 Manufacturing Steps | Assemble each module according to precise markers |
| 🛡️ Safety First | Check stability and angles to avoid injuries |
| 🔄 Regular Maintenance | Inspect wear and adjust difficulty |

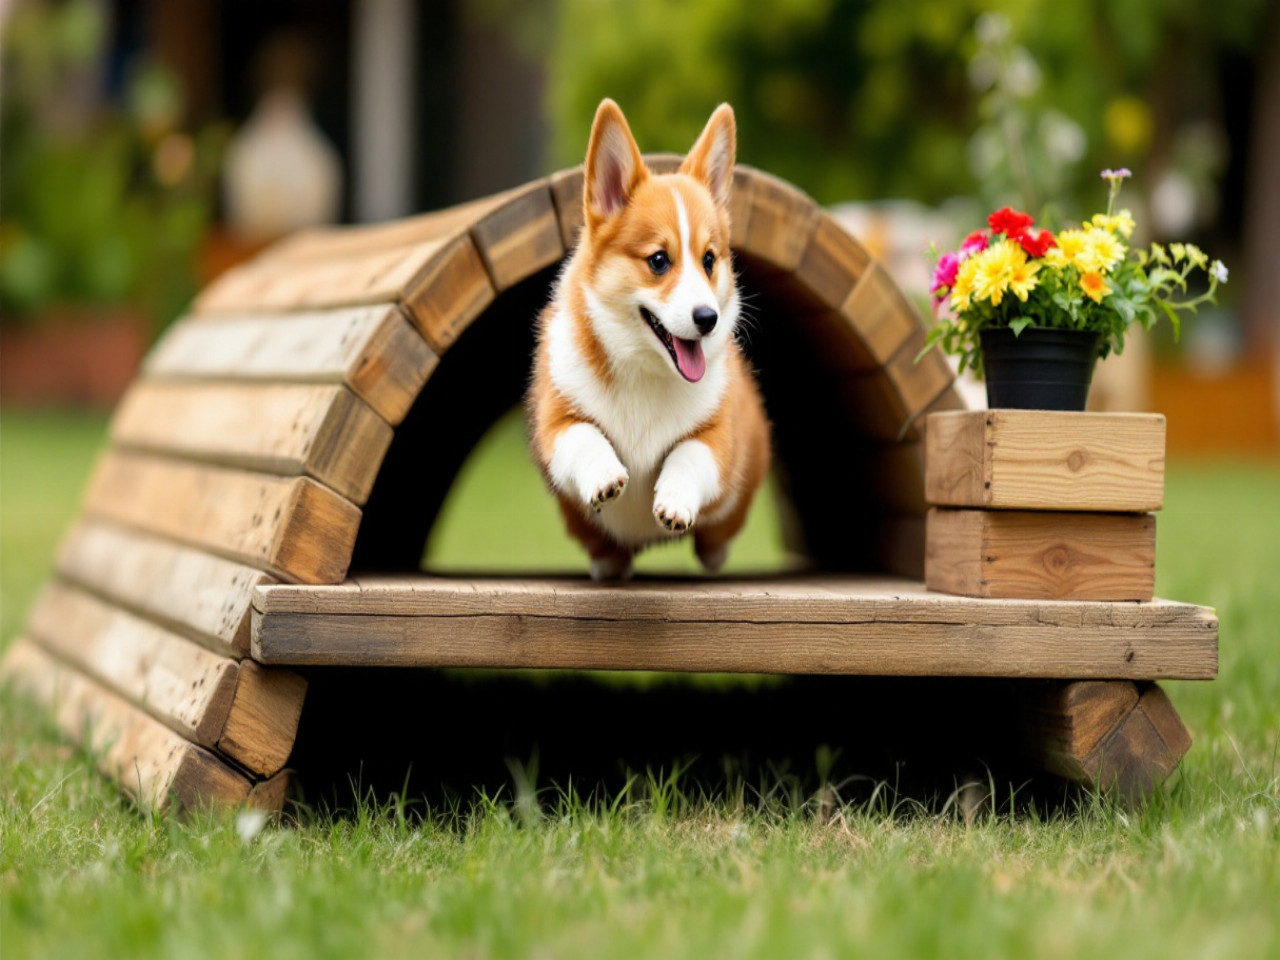
Turning your garden into an adventure playground for a Corgi Pembroke is almost magical: the small dog with a fox-like appearance, full of energy, finds in agility a way to dare, expend energy, and strengthen the bond that unites you. With a little heart put into the design, the course becomes a playful refuge where your sessions follow one another in good spirits. This article guides you step by step, from the list of materials to obstacle optimization, including height adjustments and safety.
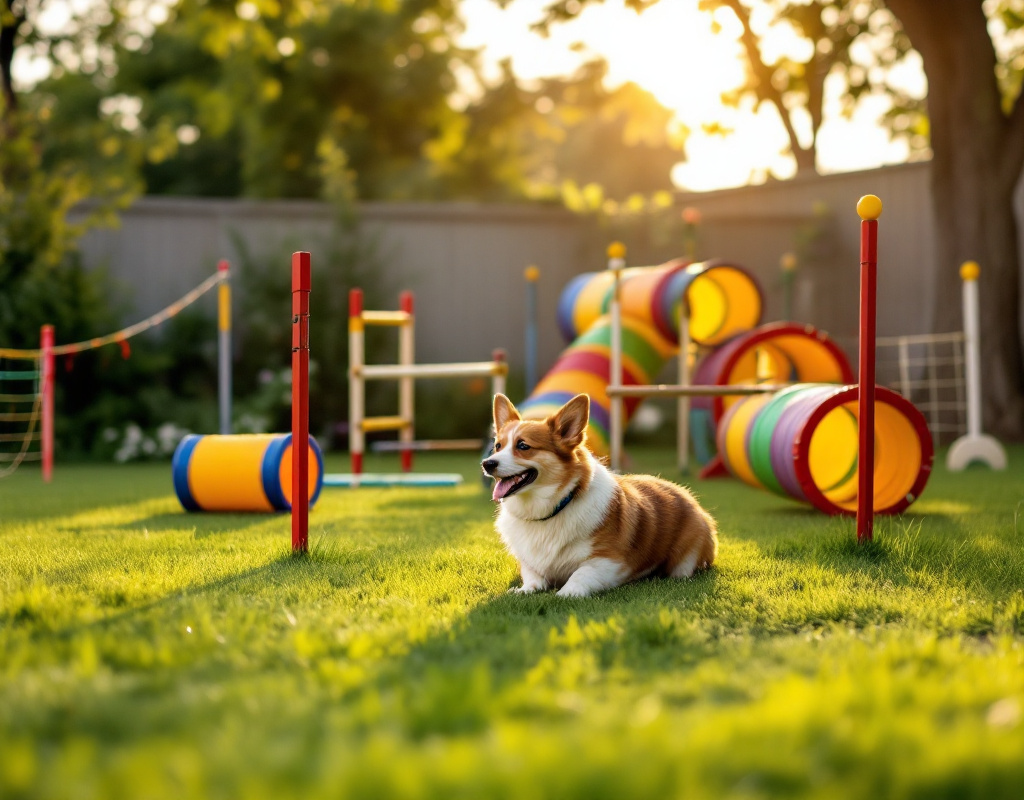
Why an agility course for your Corgi Pembroke?
The Corgi Pembroke, despite its compact size, overflows with energy. At home, it bumps, scratches, constantly seeks an occupation. Agility fulfills this natural need for stimulation: besides being a physical activity, it sharpens its intelligence and channels its dynamism. You will find a space for expressing its instincts and a way to prevent boredom that can lead to undesirable behaviors.
At the heart of this discipline, each module requires reflexes, coordination, and mutual trust. The dog must learn your gestural and vocal language, while you discover its strengths and hesitations. The result: a strengthened complicity that goes far beyond the few square meters of your garden.
Essential materials and tools
Before starting, take inventory of parts and tools. It’s better to have a sufficient stock of screws, boards, and tubes: nothing spoils enthusiasm more than an unexpected trip back to the store.
- Treated wood to ensure longevity and weather resistance.
- PVC or lightweight metal tubes, ideally 25 to 32 mm in diameter.
- Fasteners (stainless screws, zip ties, brackets).
- Strong rope or durable fabric for the tunnel.
- Non-toxic paint or varnish to personalize and protect each element.
- Basic tools: drill-driver, jigsaw, tape measure, and level.
By proceeding methodically, waiting times are limited and potential adjustments anticipated. A small reserve of recycled materials (pallets, old broom handles) can even give birth to original and eco-friendly touches.
Course design: key steps
Choosing the Ideal Location
A flat ground is the first requirement. Soft grass, slightly cushioning, is perfect for absorbing shocks. Also ensure sufficient clearance to set up the obstacles in a row without creating dangerous angles. Consider the orientation: a spot too exposed to the sun in the middle of summer can pose dehydration risks.
A small shaded corner, possibly with an umbrella or a stretched sail, offers a resting area between attempts. It is common for the Corgi, fully engaged at the start, to slow down as soon as the heat hits its nose.
Defining the Obstacles and Their Arrangement
There are generally five main modules: the high jump, the tunnel, the slalom, the obstacle table, and the seesaw. The order matters: start with the simplest elements to establish a reassuring rhythm.
| Obstacle | Description | Difficulty |
|---|---|---|
| Jump | Bars adjustable in height | Beginner to advanced |
| Tunnel | Long roll-up tube | Intermediate |
| Slalom | Series of vertical poles | Intermediate to advanced |
| Table | Platform where the dog must stop | Beginner |
| Seesaw | Pivoting plank | Advanced |
Placing the slalom in the middle of the course enhances coordination, while a final jump always concludes the sequence on a triumphant note. But feel free to reinvent the sequence: every dog is unique, just like your space.
Step-by-Step Construction
The DIY Tunnel
For a sturdy tunnel, use a thick canvas or marine tarp. Attach it around PVC hoops spaced 50 cm apart. Connect each hoop with cable or an adjustable strap: this maintains the circular shape. Provide eyelets to anchor the ends to the ground during strong winds.
The tunnel should measure about 1.2 m long for a Corgi, with an internal diameter of 35 cm. Once finished, first test it stress-free by guiding your dog with a treat so that it associates the tube entrance with play.
The Simplified Seesaw
Take a marine plywood board (2 m x 30 cm) and fix it on a horizontal axis with a diameter of 4 cm. The supports, shaped like an “A”, should be cut from a thick board so that the plank pivots when the dog places a paw on it. On each side, add foam stops to limit excessive tilting.
The secret lies in adjusting the friction of the axis: free enough to tilt, but not so much that it tips back too quickly and frightens the dog. Again, observing your companion during the first trials will tell you if you need to tighten or lubricate.
Safety and Adaptation for the Corgi
Before each session, inspect the fastenings and check for the absence of splinters or sharp parts. The Corgi, with its rapid growth up to 12 months, deserves adjustable heights: start at 20 cm for jumps and increase gradually.
The more modular the course, the faster you can adapt the difficulty to your dog’s progress.
Always provide a shaded recovery area and regularly offer fresh water. Some Corgis, too enthusiastic, risk overheating or slight twisting. A gentle slowdown, with soft stretches after exercise, also contributes to muscular well-being.
Training and Motivation Tips
Agility is based on positive reinforcement. After each obstacle cleared, praise him with a treat or a favorite toy. Vary the types of rewards to maintain his interest: a properly completed slalom run can lead to a mini ball game.
- Start with a 5 to 10-minute session to avoid exhausting him.
- Reward immediately, so the action is well associated.
- Increase the difficulty every 3 to 5 days, while being attentive to his level of fatigue.
- Always finish on an easy success to maintain confidence.
Watch his behavior: a relaxed Corgi will stick out his tongue, hold his tail high, and willingly come back to you. The slightest sign of hesitation or stiffness calls for easing up and restoring the sense of play.
Maintenance and Course Evolution
Over time, screws can loosen and the wood can weather. A quick weekly check is enough to extend the life of your setup. Wipe the painted surface with a damp cloth and tighten any loose fasteners.
When the Corgi masters all the obstacles, you can make the course more complex: add a monkey bridge, vary the slope of the plank, or combine two tunnels to form a U. The idea is to continuously stimulate his mind and renew the enjoyment.
FAQ
What is the ideal height for jumps?
For an adult Pembroke Corgi, a height of 30 to 40 cm is a good compromise. Adjust it to 20 cm for very young puppies and increase gradually.
Can recycled materials be used?
Absolutely: pallets, out-of-service plumbing pipes, and old nets provide a solid base, provided each piece is sanded and secured.
How to prevent the tunnel from moving?
Secure it with tent pegs or stakes inserted into the eyelets at both ends, and adjust the tension of the hoops.
When to move to a higher level?
After 4 to 6 weeks of regular training, if your Corgi clears each obstacle without hesitation and returns to you smoothly.